Stop Tapestry Curling: 5 Fixes for Flat Crochet Edges
Fix curling edges on crochet tapestries with blocking, borders, and hanging tips. I share my hard-won tricks for a perfect flat finish.
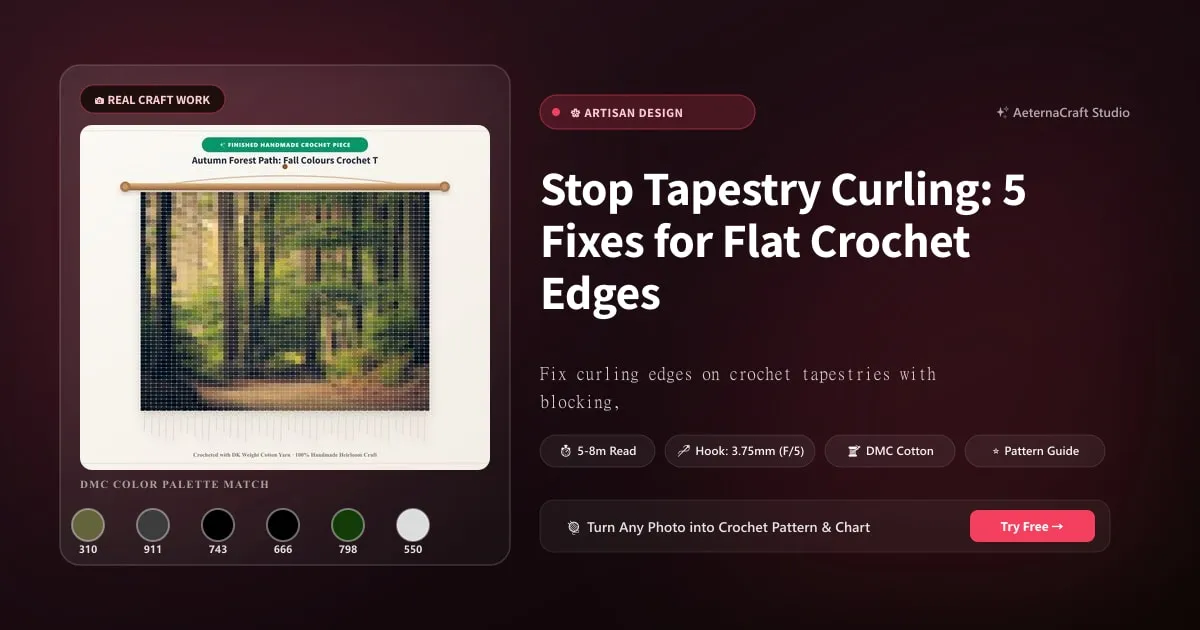
Stop Tapestry Curling: 5 Fixes for Flat Crochet Edges
Why Do Tapestry Edges Curl?
Let’s get one thing straight right off the bat: crochet tapestry edges curling isn’t just an annoyance; it’s a personal affront to my sanity. I remember years ago, I spent three weeks crocheting a stunning geometric wall hanging using merino wool and a 4.0mm hook. I was so proud of it until I hung it up, and instead of lying flat like a dignified portrait, it looked like a rolled-up carpet from a 1970s hotel hallway. It was humiliating. But before you throw your hook across the room in frustration, let’s figure out why this happens. It’s usually not magic, and it’s rarely bad luck. It’s physics, tension, and sometimes, just a bit of stubbornness on the part of your yarn.
The science of curling in crochet comes down to tension and fiber memory. When you crochet, especially in rows back and forth, the stitches on the right side and wrong side have different structures. In patterns heavy with single crochet (sc) or half double crochet (hdc), the vertical columns of stitches tend to pull tighter than the horizontal rows. This creates a torque effect, like a spring coiling up. If you’re working with a hook that’s too small for your yarn weight—say, using a tiny 3.5mm hook with bulky yarn—you’re forcing those fibers into a cramped space, increasing tension dramatically. Conversely, if your tension is incredibly loose, the edges can become unstable and wavy, which also leads to an unflattering drape. Different yarn fibers behave differently, too. Acrylic has a strong “memory,” meaning it wants to hold whatever shape it was manufactured in, often causing stiff, sharp curls. Natural fibers like cotton or alpaca are more pliable but can stretch under their own weight if not supported correctly.
So, what are the common mistakes we all make? First, using only single crochet throughout the entire project without any variation. While sc is great for dense fabric, it’s notorious for curling at the sides. Second, inconsistent tension. If you grip your hook like you’re trying to strangle a snake one row and hold it loosely the next, your edges will never lay flat because the fabric is uneven. Third, and perhaps the most critical mistake I see beginners make: skipping the border. Many crafters think they can just finish the last stitch and call it a day. Not so fast! Without a finishing border to stabilize the edges, your tapestry is essentially saying, “Please fold yourself into a pretzel.”
I once made a mistake early in my career where I didn’t block my work. I assumed the weight of the yarn would settle it. Spoiler alert: it didn’t. It curled worse than a tortilla chip. That taught me that understanding the relationship between hook size, yarn weight, and tension is non-negotiable. If you’re using worsted weight yarn, stick to a 5.0mm or 5.5mm hook unless your pattern specifies otherwise. Keep your tension even, breathe, and remember that perfection is a journey, not a destination. But mostly, always, always add a border.
Blocking Your Tapestry for Flat Edges
If you’ve ever ignored blocking, you’re essentially painting a picture and then leaving it wet in the rain. Blocking is the magic step that sets your stitches, relaxes the fibers, and forces those curled edges to behave. I treat blocking not as an optional extra, but as the final, crucial stage of construction. There are two main ways to do this: wet blocking and steam blocking. Your choice depends entirely on the yarn you’ve chosen.
Wet Blocking Method
Wet blocking is the gold standard for natural fibers like cotton, linen, wool, and alpaca. These fibers absorb water, swell slightly, and can be reshaped when dry. Here is how I do it:
- Soak: Fill a sink or basin with lukewarm water and a small amount of gentle wool wash or baby shampoo. Submerge your tapestry completely. Let it soak for at least 15 minutes. This allows the water to penetrate every stitch. Do not agitate or wring it! Gently press the water through the fabric to ensure even saturation.
- Remove Excess Water: Lift the tapestry out, supporting its weight so it doesn’t stretch. Lay it on a clean, dry towel. Roll the towel up with the tapestry inside like a burrito, and press down firmly. The towel will wick away the excess moisture. You want the fabric damp, not dripping.
- Pin: Lay your damp tapestry on a blocking mat or a thick layer of foam insulation boards. Use rust-proof T-pins or blocking needles. Pin along the straight edges and corners. Pull the fabric gently until it aligns with the grid on your mat. This is where you measure up. Ensure your width and height are even. If you’re aiming for a 12x16 inch piece, make sure it actually measures that when pinned flat.
- Dry: Leave it undisturbed until completely dry. This can take 24 to 48 hours. Do not move it while it’s damp, or you’ll distort the shape.
A note on acrylic: Wet blocking generally won’t work well for 100% acrylic. Acrylic doesn’t absorb water the way natural fibers do. However, if you have an acrylic blend, wet blocking might help slightly, but don’t expect miracles.
Steam Blocking Alternative
Steam blocking is safer for delicate fibers or blends that might felt or shrink in water. It’s also the preferred method for many acrylic projects, though you must be careful.
- Prepare: Lay your tapestry on a heat-resistant surface. Cover it with a thin cotton cloth or pressing cloth. This protects the yarn from direct contact with the iron.
- Steam: Hold your steam iron about an inch above the fabric. Turn on the steam burst function. Move the iron slowly over the surface, letting the steam penetrate the stitches. Do not press the iron down onto the fabric. Just hover and steam.
- Shape: As the steam hits the fibers, they relax. You can use your fingers to gently smooth out curled edges while steaming. For acrylic, the heat can permanently set the new shape, but test on a swatch first! High heat can melt synthetic fibers, ruining your work instantly. I learned this the hard way when I accidentally touched my iron to a baby blanket. The smell of burning plastic still haunts my dreams.
Adding a Border to Prevent Curling
Once your tapestry is blocked (or even while you’re prepping it for blocking), it’s time to talk borders. A border isn’t just decorative; it’s structural. It adds weight and stability to the edges, counteracting the natural tendency of the fabric to curl. I love adding borders because it gives the piece a finished, professional look. Without it, your tapestry looks like a work-in-progress, no matter how intricate the pattern.
Single Crochet Border
The simplest yet most effective border is a round of single crochet (sc). This creates a dense, sturdy edge that holds its shape well.
- How to do it: Start at any corner. Work one sc into each stitch around the entire perimeter of your tapestry. When you reach a corner, work three sc into the same corner stitch to create a crisp 90-degree angle. Continue around the next side, working one sc into each stitch.
- Stitch Counts: To keep your edges straight, count your stitches. If your main body has 30 stitches across, aim for roughly 30 sc along that edge. If you have too many stitches, the border will ripple. If you have too few, it will pucker. A good rule of thumb is to work evenly spaced sc, increasing slightly at corners if necessary.
- Why it works: Single crochet is tight and stable. It anchors the side stitches, preventing them from pulling inward. I often use a hook one size smaller than my main project hook for this border to ensure it’s even tighter and more rigid.
Reverse Single Crochet (Crab Stitch) Border
For a more decorative and firm edge, try the reverse single crochet, also known as the crab stitch. This creates a twisted, rope-like texture that looks incredibly elegant.
- How to do it: Unlike normal sc, you work from left to right (for right-handed crocheters). Insert your hook into the stitch to the left of your current position. Yarn over, pull up a loop, yarn over, pull through both loops on the hook. This might feel awkward at first because you’re going against the grain.
- Comparison: While regular sc lies flat against the edge, crab stitch sits slightly raised and textured. It provides excellent stabilization because it locks the stitches together tightly. I love using this for baby blankets or items that will be handled frequently, as the edge is very durable.
- Tip: If you find crab stitch too tight, consider alternating it with regular sc every few stitches to maintain flexibility. But for tapestries, I prefer the full crab stitch for that clean, finished line.
Hanging Your Tapestry Without Curling
You’ve blocked it. You’ve added a border. Now, how do you hang it? Poor hanging techniques can undo all your hard work. Gravity is a powerful force, and if you don’t distribute the weight correctly, your tapestry will sag, twist, or curl again. I’ve seen too many beautiful pieces ruined by simple clip-on hangers that pinch the fabric.
Using a Dowel or Tapestry Rod
One of the best ways to hang a tapestry is using a wooden dowel or a specialized tapestry rod. This distributes the weight evenly across the top edge, eliminating stress points that cause curling.
- Insertion: Create a casing at the top by crocheting a series of double crochet (dc) or half double crochet (hdc) stitches along the top row. Thread your dowel through this casing. Alternatively, you can use a large-eyed needle to weave a cord through the top loops.
- Measurements: Ensure the dowel extends slightly beyond the width of your tapestry. If your tapestry is 16 inches wide, use a 18-inch dowel. This extra length gives you space to tie ribbons or ropes for hanging.
- Hardware: Attach S-hooks or keyring clips to the ends of the dowel, then hang them on nails or hooks in the wall. This keeps the top edge straight and prevents the corners from drooping.
Clip-on Hangers vs. Sewn Sleeves
Clip-on curtain rings are popular, but they can be problematic for heavy tapestries. The pressure from the clips can create permanent indentations or cause the fabric to bunch up, leading to curling near the top.
- Pros and Cons: Clips are easy to install and adjust, which is great for renters. However, they don’t distribute weight well. Sewn sleeves, like the casing mentioned earlier, are superior for long-term display. They allow the tapestry to hang freely from the rod, with no pinching.
- Recommendation: For lightweight acrylic or cotton pieces, clips might suffice if you use wide, padded clips. For wool, alpaca, or larger pieces, always opt for a sewn sleeve or casing. It’s a bit more effort upfront, but it ensures your art looks professional and stays flat for years.
Long-Term Care to Maintain Flat Edges
Keeping your tapestry looking pristine requires a bit of maintenance. Even the best-hung tapestry can succumb to environmental factors over time.
Storage Tips
If you need to store your tapestry, never fold it along the stitched lines, as this can create permanent creases that resist blocking. Instead, roll it around a cardboard tube (acid-free if possible) with tissue paper between layers. Store it in a cool, dry place away from direct sunlight, which can fade colors and weaken fibers. Moisture is the enemy of stored textiles, so avoid basements or attics if they are prone to humidity.
Re-blocking When Needed
Over time, especially if exposed to dust or handling, your tapestry may start to lose its flatness. Don’t panic. You can re-block it. Simply follow the wet or steam blocking process outlined earlier. If the curling is minor, a light steam pass might be enough to relax the fibers. If the edges have stretched, you may need to wet block again and pin it to its original dimensions. I find that checking my tapestries once a season helps catch issues early.
Happy crocheting, friends! Remember, every curl is just an invitation to block a little harder. Keep your hooks sharp, your yarn neat, and your tea hot.
Frequently Asked Questions
Can I fix curling without blocking?
Some crafters use fabric stiffeners or starch as a quick fix. Spray a light coat on the back of your tapestry to add rigidity and reduce curling. However, this changes the hand of the fabric, making it stiff and less flexible. It's also not easily reversible. For a true, lasting solution, blocking is necessary because it resets the fiber structure. Starch is a band-aid; blocking is the cure.
What if my tapestry still curls after blocking?
If you've blocked and bordered but it's still curling, check these factors: 1) Yarn memory — some high-twist merino or acrylics need multiple blocks or a heavier border. 2) Insufficient pinning — you may need more tugging to overcome stubborn tension. 3) Border weight — a single crochet border might not be enough for a heavy piece; try a second round or thicker yarn. 4) Hanging method — ensure your dowel or rod is perfectly level, as an uneven top causes tilting and curling.
What hook size should I use for tapestry crochet?
For worsted weight yarn, I recommend a 5.0mm or 5.5mm hook unless your pattern specifies otherwise. Using a hook too small, like a 3.5mm with bulky yarn, forces fibers into a cramped space and dramatically increases tension, causing curling. A slightly larger hook gives your stitches room to breathe and lie flat.
Related Posts
Doily Crochet: From Beginner to Pro in 10 Doilies
Learn how to progress from your first doily to an advanced masterpiece with tips on thread, tension, blocking, and pattern reading.
AdvancedHow to Crochet a 97-Inch Multicolor Granny Square Blanket
Learn to crochet a giant granny square blanket with 112 colors, blocking tips, and joining techniques from a real project.
Try Our Free Crochet Tools
Turn Your Photo Into a Crochet Pattern
Upload any photo and our AI generates a pixel-perfect crochet pattern with real yarn color matching in seconds.
Try AeternaCraft Studio Free →Calculate Yarn for Any Resize
Free amigurumi yarn & resizing calculator. Change hook, switch yarn, or scale a whole pattern — instant results with PDF export.
Open the Calculator →