How to Crochet a Monarch Butterfly Cardigan: Tips & Patterns
Learn to crochet a stunning monarch butterfly cardigan with pattern recommendations, color tips, and assembly tricks for this popular project.
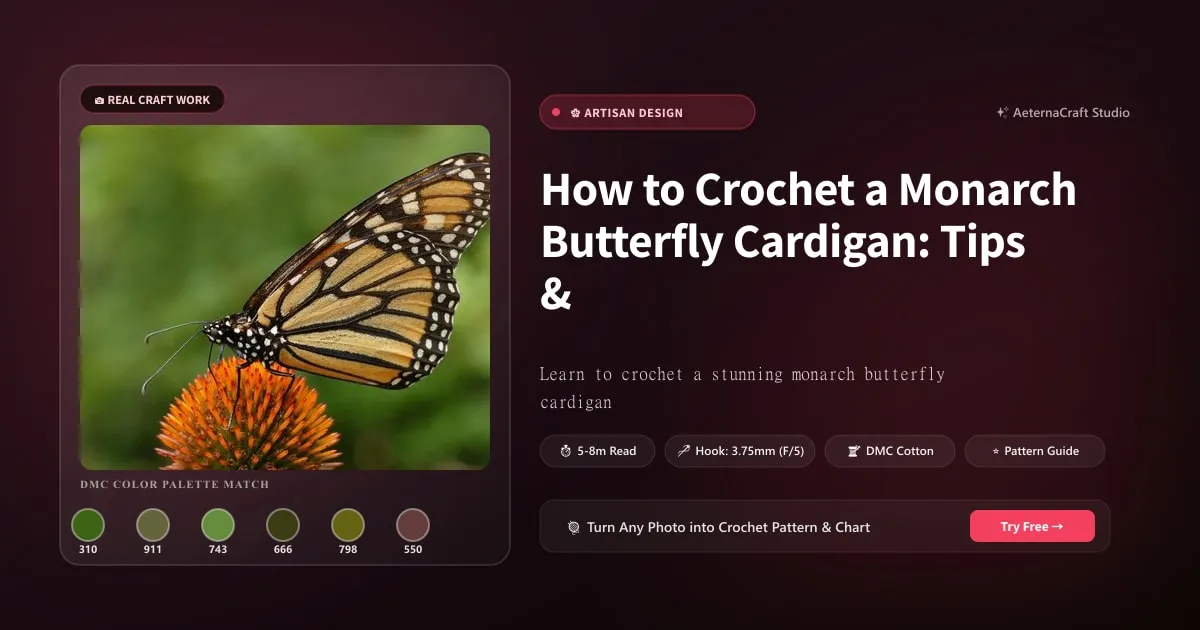
When I first picked up a hook to attempt something as intricate as a monarch butterfly cardigan, I was naive. I thought I could just wing it — pun intended. Years later, I can tell you that winging it usually results in a garment that looks less like a delicate Lepidoptera and more like a confused moth that lost a fight with a shredder. So let’s talk about finding a pattern that actually works, because the wrong chart will haunt your dreams.
Choosing the Perfect Pattern
The market is flooded with “cute” designs, but few capture the majestic essence of the Danaus plexippus without turning your shoulders into mounds of orange fluff. Here are three patterns that have stood the test of time in my studio.
First, there’s the Monarch Majesty Cardigan by Elena Crochets on Ravelry. It’s a top-down construction, which means you start at the neckline and work your way down. This is gold for fit. You can try it on as you go, ensuring those butterfly wings aren’t pinching your armpits. It uses worsted weight yarn, making it relatively quick to finish, and includes both written instructions and color-coded charts.
Second, check out the Orange Wing Wrap by StitchWitchStudio on Etsy. This one is a seamless circle yoke design. It’s beginner-friendly but looks incredibly sophisticated. The motifs are sewn on later, which gives you the flexibility to position them exactly where you want the “wing” effect to pop.
Finally, if you’re feeling bold, there’s the Danaus Diagonal Cardigan, a paid pattern available directly from the designer’s site. It uses a unique diagonal stitch that mimics the vein structure of real wings. It’s intermediate-to-advanced, so don’t touch it until you’ve mastered tension control.
But what should you actually look for before you buy? Clarity is king. I’ve wasted hours deciphering patterns that say “work in the round” without specifying how. Does that mean single crochet around? Half-double crochet? Or is it a complex tapestry crochet? Always look for a pattern that includes a clear schematic with measurements in inches and centimeters. You need to know the exact length from shoulder to hem and the width across the chest.
Also, check the construction style. Seamed garments (front and back panels worked separately) offer better structural integrity for heavy motifs like butterflies, whereas seamless designs rely on stretch, which can sag under the weight of dense crochet. And please, look at the project photos. Not just the designer’s polished shots, but the user-uploaded images. Did their wings lay flat? Did they run out of yarn? These details matter more than any fluffy description.
One question I often get asked is, “Can I modify an existing pattern?” The answer is yes, but with caution. If you take a basic cardigan pattern and try to jam in large motifs without adjusting the gauge, you’ll end up with a garment that doesn’t close properly. Always swatch! I learned this the hard way when I tried to adapt a simple shrug into a full cardigan. I ignored the gauge, and suddenly, my beautiful black borders were pulling the orange fabric into weird bunches. It looked less like a butterfly and more like a crumpled napkin. Thankfully, I had enough yarn to rip it out, but it cost me two weeks of evenings. Don’t be like novice-me. Respect the math behind the magic.
Selecting Yarn and Colors
Now, let’s talk about the soul of your cardigan: the colors. A monarch isn’t just orange; it’s a deep, fiery tangerine contrasted against midnight black with tiny specks of bone-white. If you grab any old orange yarn, you’ll end up with a pumpkin sweater, not a butterfly. I remember a friend of mine who tried to save money by using a cheap acrylic dye lot she had lying around. The orange was so pale it looked like peach fizz. It killed the entire illusion. You need saturation.
For the body, a #4 worsted weight yarn is your best friend. It has enough substance to hold its shape but isn’t so bulky that the motifs look like lumps. Brands like Lion Brand Wool-Ease or Scheepjes Catona are fantastic because they offer incredible color consistency. For the black outlines, go with a slightly heavier weight if you want definition, or stick to worsted for uniformity. The white spots should be a crisp, bright white — not off-white or cream. I recommend a mercerized cotton blend for the white; the slight sheen makes those spots pop against the matte finish of the orange.
Let’s dive into the fiber choices. Acrylic is durable and washable, perfect for a cardigan that might see regular wear. It’s also budget-friendly, which matters when you’re buying three distinct colors. However, acrylic can pill if you rub it too much, especially where the motifs meet the body. Wool blends offer superior warmth and elasticity, which helps the cardigan drape nicely. If you choose wool, be aware that blocking (which we’ll discuss later) is essential to even out the stitches. Cotton is breathable but lacks stretch. If you use 100% cotton, you must follow the body measurements strictly, or the cardigan might feel tight across the shoulders. Personally, I love using a cotton-acrylic blend. You get the definition of cotton with the forgiving nature of acrylic.
What about the black parts? You need a yarn that contrasts sharply with the orange. Some oranges lean yellow; some lean red. A true, neutral orange (like Caron One Pound in Tangelo) pairs beautifully with a jet-black yarn. If your orange is reddish, try a slightly blue-based black to make the contrast sing. This is a technical tip, but it works wonders for visual depth.
Another common query is, “How many yards do I need?” For a women’s medium cardigan with large motifs, expect to use roughly 800-1000 yards of orange, 200-300 yards of black for the borders, and maybe 50-100 yards of white. Buy extra. Always buy extra. I once ran out of black border yarn on the last sleeve. I had to unpick three inches of work to find a matching skein from a different dye lot, which resulted in a subtle shade variation. It’s a lesson in humility: never assume you have enough until the tag says so.
Finally, consider the texture. A smooth yarn will make the motifs look cleaner and more graphic, mimicking the printed look of real wings. A fuzzy or boucle yarn will obscure the details of the butterfly shapes, turning them into amorphous blobs. Stick to smooth plied yarns for this project. Your eyes will thank you, and so will anyone who admires your craftsmanship from a distance.
Crocheting the Butterfly Motifs
Here is where the rubber meets the road — or rather, where the hook meets the yarn. Crocheting the motifs separately is generally easier for beginners than trying to crochet them directly onto the cardigan, as it allows you to manage tension and shape without worrying about the rest of the garment getting distorted. However, it requires careful planning for assembly.
Start with the wings. Most patterns suggest using a circular motif technique. Begin with a magic ring or a chain loop. For the main wing area, use single crochet (sc) or half double crochet (hdc) to create a solid fabric. Single crochet gives a denser, stiffer fabric, while hdc offers more drape. I prefer hdc for the wings because it feels lighter on the shoulders. When you reach the edge of the orange section, switch to the black yarn to create the outline. This is crucial. The black border acts as the “veins” and the edge of the wing, giving the butterfly its definition.
When changing colors, do not cut the yarn unless necessary. Instead, join the new color at the beginning of the round and carry the unused color up the side of your work. This saves time on weaving in ends later. But be careful — if you carry the color too loosely, it will pucker the fabric. If too tightly, it will restrict the stretch. Practice your tension here. I’ve seen motifs twist because the carried yarn was pulled tight, warping the shape of the wing.
Creating the white spots is a matter of slip stitching (sl st) or short single crochets into the black border. Placement is artistic but should follow symmetry. Measure the distance between spots from the center fold of the wing to ensure left and right wings mirror each other. Use a ruler! It sounds tedious, but it pays off.
One anecdote: Years ago, I made a pair of motifs for a child’s cardigan. I rushed the shaping and didn’t block them before sewing. When I finally assembled the piece, the wings looked like they were melting. They were asymmetrical and limp. I had to frog the entire front panel and redo the motifs with proper blocking. Never skip the blocking step for individual pieces if possible; it helps set the stitch definition before you commit them to the cardigan base.
For the body of the butterfly, a simple cylinder works well. Chain a length equal to the torso height, then work in rounds. Use a smaller hook, like a 3.5mm or 4.0mm, for the body to keep it slim and structured compared to the wider wings. Add legs using black thread or thin yarn, attaching them with whip stitches. This adds a nice 3D element that elevates the design from “flat appliqué” to “textile art.”
If you are working directly into the cardigan (a technique called in-the-round appliqué), use a slip stitch to anchor the motif temporarily. This prevents it from twisting as you build up the rows. However, this method is tricky with bulky yarns. Stick to separate motifs if you’re using worsted weight or thicker fibers.
Remember, imperfections are part of the charm, but structural flaws are not. Ensure your increases and decreases are evenly distributed. If you notice the wing curling inward, you may have increased too much in the center. Curling outward suggests decreased too much. Adjust your stitch count accordingly. There is no shame in fixing a mistake early; it’s far less painful than unraveling a completed wing three weeks into the project.
Assembling the Cardigan
Assembly is where your patience is tested. Sewing on heavy motifs can distort the lightweight cardigan body if not done correctly. The key is stability. Before you pick up a needle, pin every single motif into place. Use rust-proof pins or plastic stitch markers. Lay the cardigan flat and arrange the butterflies so they balance visually. Symmetry isn’t always literal; sometimes a slightly offset placement looks more organic, like a butterfly resting mid-flight.
I recommend using a mattress stitch for attaching the motifs to the sides and sleeves. This creates a nearly invisible seam that lies flat. Avoid backstitching, which can create ridges that dig into your skin. For the black borders of the wings, anchor the sewing thread in the orange part of the wing first, then secure the edge to the cardigan body. This hides the knot within the motif itself.
Securing the edges is vital. Motifs tend to lift at the corners after washing. Reinforce the top and bottom points of each wing with an extra pass of the thread. If you’re worried about durability, you can add a dab of fabric glue to the back of the attachment points before sewing, though most crocheters prefer purely mechanical strength. I personally use a strong polyester thread for sewing; it’s stronger than cotton and resists stretching.
One common mistake is attaching the motifs too tightly. If you pull the cardigan body up to meet the wing, you’ll create gathers and wrinkles. Let the motif lie naturally. The cardigan should flow around the butterflies, not strangle them. Try the garment on frequently during assembly to check for drag lines or tightness.
Also, consider the weight distribution. If you put all the motifs on the front panels, the cardigan might hang unevenly. Balancing the weight with motifs on the back or sleeves helps maintain the drape. Some designers place small wing fragments on the back to mimic the tail feathers seen on real monarchs. It’s a subtle detail that experts will appreciate.
Don’t rush the pinning phase. I once spent two hours sewing only to realize halfway through that my left wing was higher than my right. It took another hour to unpick. Take your time, measure twice, sew once. It’s the golden rule of crocheting, and it applies doubly when dealing with three-dimensional elements.
Finishing and Fitting Tips
Finishing touches can make or break a project. Blocking is non-negotiable. Even if you blocked your motifs individually, the assembled cardigan needs a final steam or wet block. For acrylic yarns, use a pressing cloth and a low-heat iron with steam. Do not touch the iron directly to the yarn; you risk melting the fibers and ruining the stitch definition. For wool or cotton, soak the garment in lukewarm water with a bit of hair conditioner, gently squeeze out the water, and lay it flat on a towel. Shape the wings and straighten the seams. Pin it to the correct dimensions and let it dry completely.
This process evens out the tension, relaxes the fibers, and ensures the cardigan hangs beautifully. It also makes the final fit assessment accurate. Once dry, try it on again. Does it fit through the shoulders comfortably? Is the length appropriate? If it’s too long, you can trim the hem and re-block, but be mindful of fraying ends.
Customization is where you make it yours. Buttons can be decorative or functional. I love using large, colorful buttons that mimic the eye-spots of the butterfly. Or, for a sleeker look, opt for invisible snaps. Embellish the wings with small beads or sequins for added sparkle, especially if the lighting catches them. Just ensure the beads are securely attached; loose embellishments are a hazard for pets and children.
Finally, care instructions. Label your garment. Acrylic is easy care, but wool may require dry cleaning or hand washing. Store it folded, never hung, to prevent stretching. Enjoy the warmth of your creation, knowing you didn’t just make a sweater — you made a piece of wearable art. Happy hooking!
Frequently Asked Questions
Can I modify an existing pattern to add butterfly motifs?
Yes, but proceed with caution. If you take a basic cardigan pattern and add large motifs without adjusting the gauge, the garment won't close properly. Always swatch first. I learned this the hard way when I tried to adapt a simple shrug into a full cardigan — ignoring the gauge made my black borders pull the orange fabric into weird bunches.
How many yards of yarn do I need for a monarch butterfly cardigan?
For a women's medium cardigan with large motifs, expect to use roughly 800-1000 yards of orange, 200-300 yards of black for the borders, and 50-100 yards of white. Buy extra — always buy extra. I once ran out of black border yarn on the last sleeve and had to unpick three inches of work to find a matching skein from a different dye lot.
Should I crochet the butterfly motifs separately or directly onto the cardigan?
Crocheting motifs separately is generally easier for beginners. It lets you manage tension and shape without worrying about distorting the rest of the garment. However, it requires careful planning for assembly. Use a mattress stitch for attaching motifs to the sides and sleeves — this creates a nearly invisible seam that lies flat.
Related Posts
How to Knit a Custom Vest: 12 Steps to Perfect Fit
Learn to knit your own colorful vests without a formal pattern. Tips on yarn choices, color combos, and customizing fit for any body.
AdvancedMastering Colorwork and Steeks: 7 Lessons from a Sweater
Learn all-over colorwork, steeking, and pattern modifications from a challenging sweater project. Tips for fearless knitting.
Try Our Free Crochet Tools
Turn Your Photo Into a Crochet Pattern
Upload any photo and our AI generates a pixel-perfect crochet pattern with real yarn color matching in seconds.
Try AeternaCraft Studio Free →Calculate Yarn for Any Resize
Free amigurumi yarn & resizing calculator. Change hook, switch yarn, or scale a whole pattern — instant results with PDF export.
Open the Calculator →